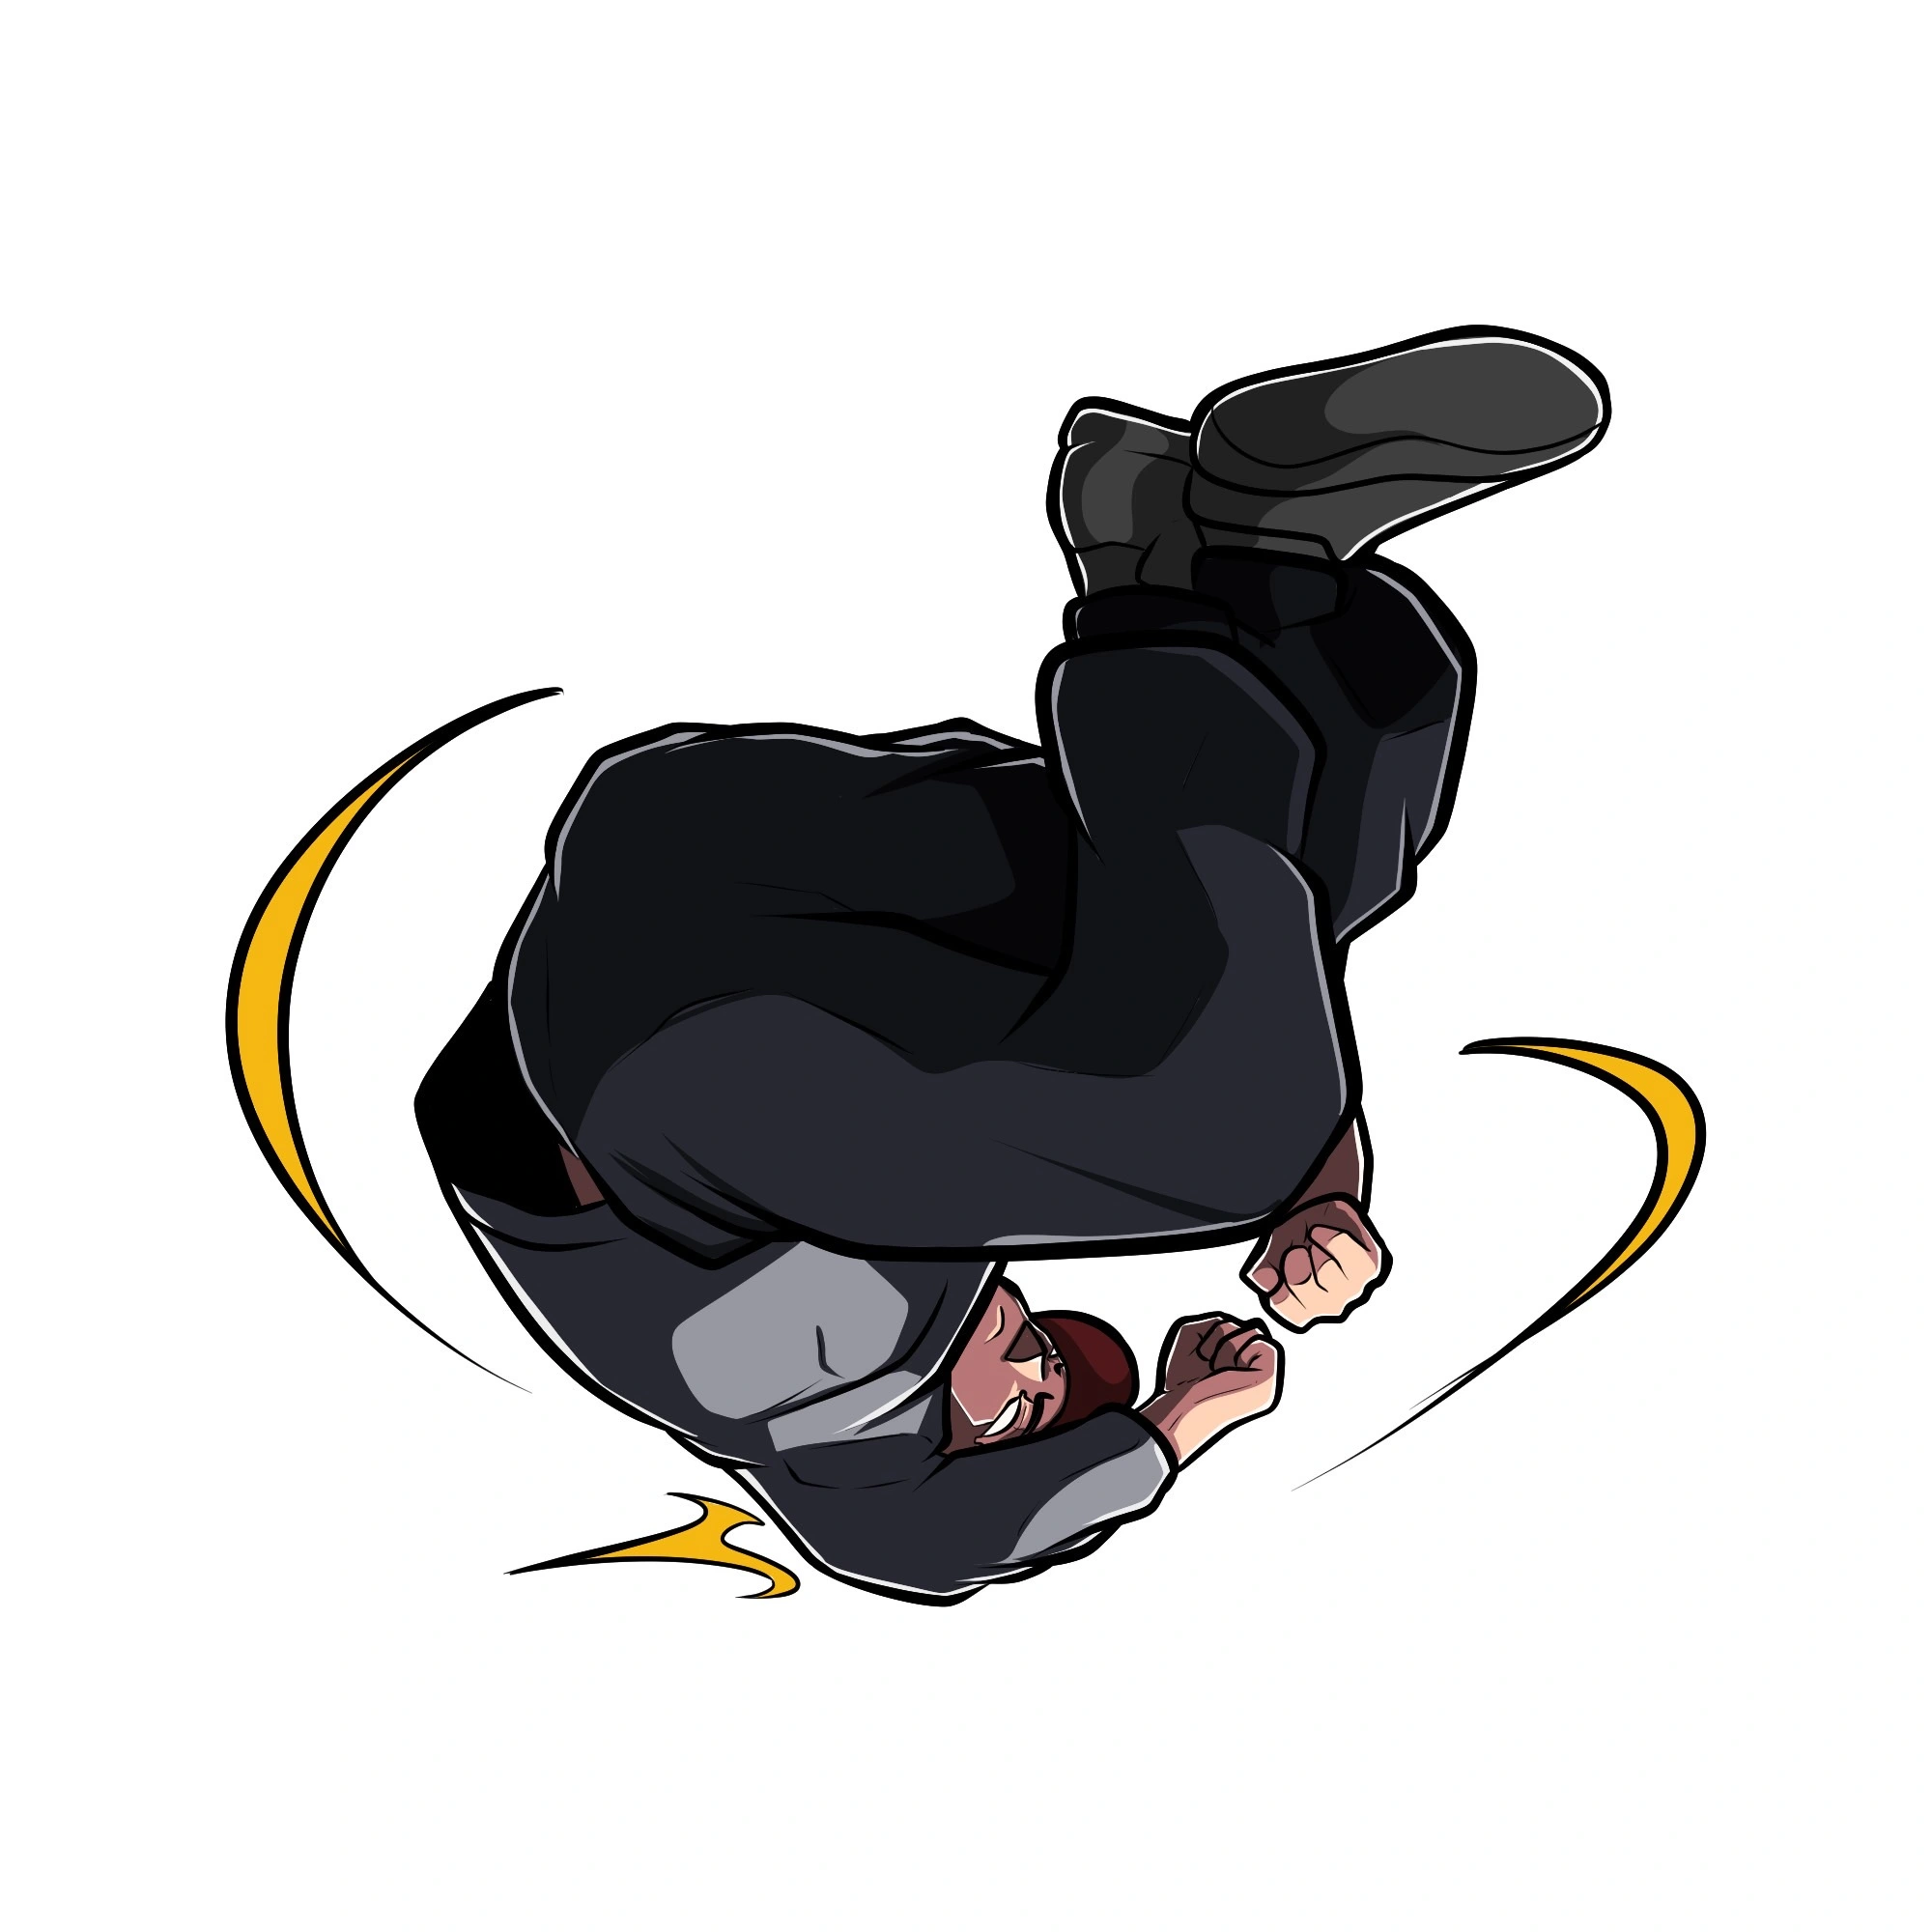
Few moves are more associated with breaking than windmills. But did you know windmills have numerous variations to flip your moves and keep your sets fresh? One such variation is baby windmills.
Learning the baby windmills move allows you to add your original style to your breaking. Naturally, you must master conventional windmills first, but it doesn’t take much to progress into practicing how to do baby windmills.
Let’s discuss what baby windmills are and how to pull them off.
What are Baby Windmills?
Technically, there’s no massive difference between windmills and the baby variant. Remember, they’re just a variant of the original move, so there’s no need to start from scratch if you already know how to do windmills.
Firstly, the basic windmill can be stabbed or unstabbed. However, although beginners often start practicing with stabbing, it becomes a liability when performing multiple rotations in a row because it slows everything down. This is why upgrading to the unstabbed version is wise when taking your windmill moves to the next level.
The History of Baby Windmills
Nobody quite knows where this variant originated. However, there’s a strong chance it emerged around the same time as the original windmill.
Unlike other moves discovered through experimentation, the invention of the windmill was a complete accident. It was Crazy Legs of the famous Rock Steady Crew who unwittingly made this move a reality.
The story goes that while practicing in the Bronx, New York, Crazy Legs overshot his chair freeze and found himself in a continuous backspin. At this point, it became a popular move inspired by the kung fu kicks from Bruce Lee’s movies.
It’s also fair to say that learning how to windmill marked the beginning of a power move craze that would come to define breakdancing. Countless teachers recommend learning the windmill to master your foundation because it’s also the launchpad for numerous other power moves.
In short, if you want to master the art of power flow, you can’t do it without getting your windmill fundamentals down, and the same goes for learning how to do baby windmills.
How to Do Baby Windmills for Beginners
Before getting started with this windmill variant, it’s strongly recommended that you get the basics down first. In other words, learn the top breakdance moves and get some basics down, including footwork essentials.
Once you’re confident with standard windmills, you can start mixing things up with variants to keep your style original and fresh. Here’s your step-by-step guide for windmilling like the best of them.
Step One – Get the Basics Down
As a variant, this move requires you to have some prerequisites down before you can pull off this move.
Ensure that you:
- Master multiple reps of windmills without hands.
- Get a decent backspin with crossed legs.
- Pull off floats, particularly ones requiring the “handglide” position.
Step Two – Get Into Position
Before starting, understand that breakers can perform baby windmills with their heads on the ground or in the air. Typically, keeping your head in the air is more comfortable – for obvious reasons.
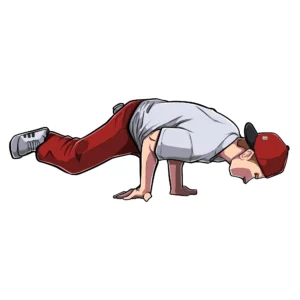
Start slowly with the basic position when learning how to breakdance with any move. Squat down with your hands in front of you, with your fingers spread. Push off and lift your legs into the “handglide” position.
Step Three – Generate Momentum
Swing around your left leg counter-clockwise with your left elbow in your gut and push off. It’s your legs that are responsible for creating that initial momentum. At this stage, this is the same process as performing a regular windmill.
Remember, your knees should be slightly bent to make it easier to move your leg. Perfectly straight legs will reduce how much control you have.
Step Four – Correct Entry
Turning your windmills into munchmills all depends on the correct entry. Since this variant doesn’t require using hands, the initial windmill setup is purely to generate the necessary momentum.
Cross one leg over the other when entering the windmill and move into the backspin position. Throughout the move, you should retain a high position on your back.
Remember, the arm swing will be crucial for generating that rotation. You may also want to practice hopping off your back with crossed legs and into the backspin from the stab freeze.
Step Five – Full Munchmills
After entry, a complete baby windmill requires extending the legs and swinging the arms. Ideally, your legs should tuck in as you land on your back with each shoulder, which prepares you for the next continuous rep.
The goal is to work on combining multiple reps over time and crossing your legs as early as possible for a more fluid entry. Unlike the conventional windmill, you don’t have your legs swinging around to continually generate more momentum, which is where the difficulty lies.
Consider signing up for our courses on the perfect practice formula to get help to simplify this variant.
Conclusion
Don’t want to get smoked during your next battle? Taking standard moves and transforming them with some variants will enable you to bring your freshest styling to every set.
Like anything, it takes practice to reach the best version of yourself. This is where the true importance of teaching from an expert breaker comes to the fore. At the B-Boy & B-Girl Dojo, we bring some of the biggest names in breaking together with students worldwide.
Sign up for our latest breaking courses to take your windmills to the next level today.

