Power moves are the parts of breaking that crowds remember. Learning how to breakdance means mastering power moves because this is where the flare and pizzazz of breaking lies. The handglide is one of the first power moves learned for beginners because it evolves from basic floats.
Adding power moves to your sets requires moderate strength, but the key to pulling them off is balance. Control over your body empowers breakers to take their sets from good to great.
If you want to learn more about the handglide move, here’s how to do a handglide.
What is the Handglide Move?
Breaking has so many moves, variations, and original styles that it can be challenging to know where to begin. Most breakers will begin with different styles of footwork, but eventually, the time will come to upgrade your performance with power moves.
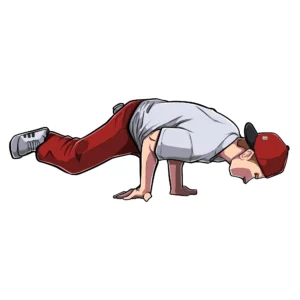
In the beginning, most aspiring breakers begin with top breakdance moves like the turtle freeze, which is considered the most basic float of all. Learning a turtle freeze, and then learning the stab is the first and foremost.
Plus, handglides require spinning in place. That’s why this move can be defined as a one-handed spinning turtle freeze.
Handglide Variations
Handglides fall into the “float” category, and it’s fair to say that they’re nothing more than a variation of a turtle, but handglides also have several variations.
Let’s discuss some of the other moves you can bring to the art of power flow after mastering the basic handglide:
- Airbaby Spin – Handglides but performed in the airbaby position.
- Airchair Spin – Handglides but performed using the airchair position.
- Gremlin – Also known as the air glide, this is a spinning one-hand tuck planche that resembles the gymnastics move, the Kher.
- Fistglide – Handglides performed with the fist instead of the palm flat on the ground.
The beauty of this move is that you can make variations out of practically anything. The only real rule is that you must use one hand and spin on it. Other than that, your body can be positioned however you see fit.
The History of the Handglide
The invention of power moves transformed breaking forever and came to define the movement in the eyes of the mainstream media. Among the first moves to emerge in the 1970s was the turtle, but it didn’t take long for the top b-boys to take this move and make new ones.
Handglides are a natural progression from the two-handed turtle breakers performed on the streets of New York City. B-boy Weebles is credited for developing and bringing the move to prominence sometime in the late 1970s or early 1980s.
We know this because the Rock Steady Crew, which was instrumental in bringing breaking from the streets to international acclaim, was already doing handglides as early as 1981.
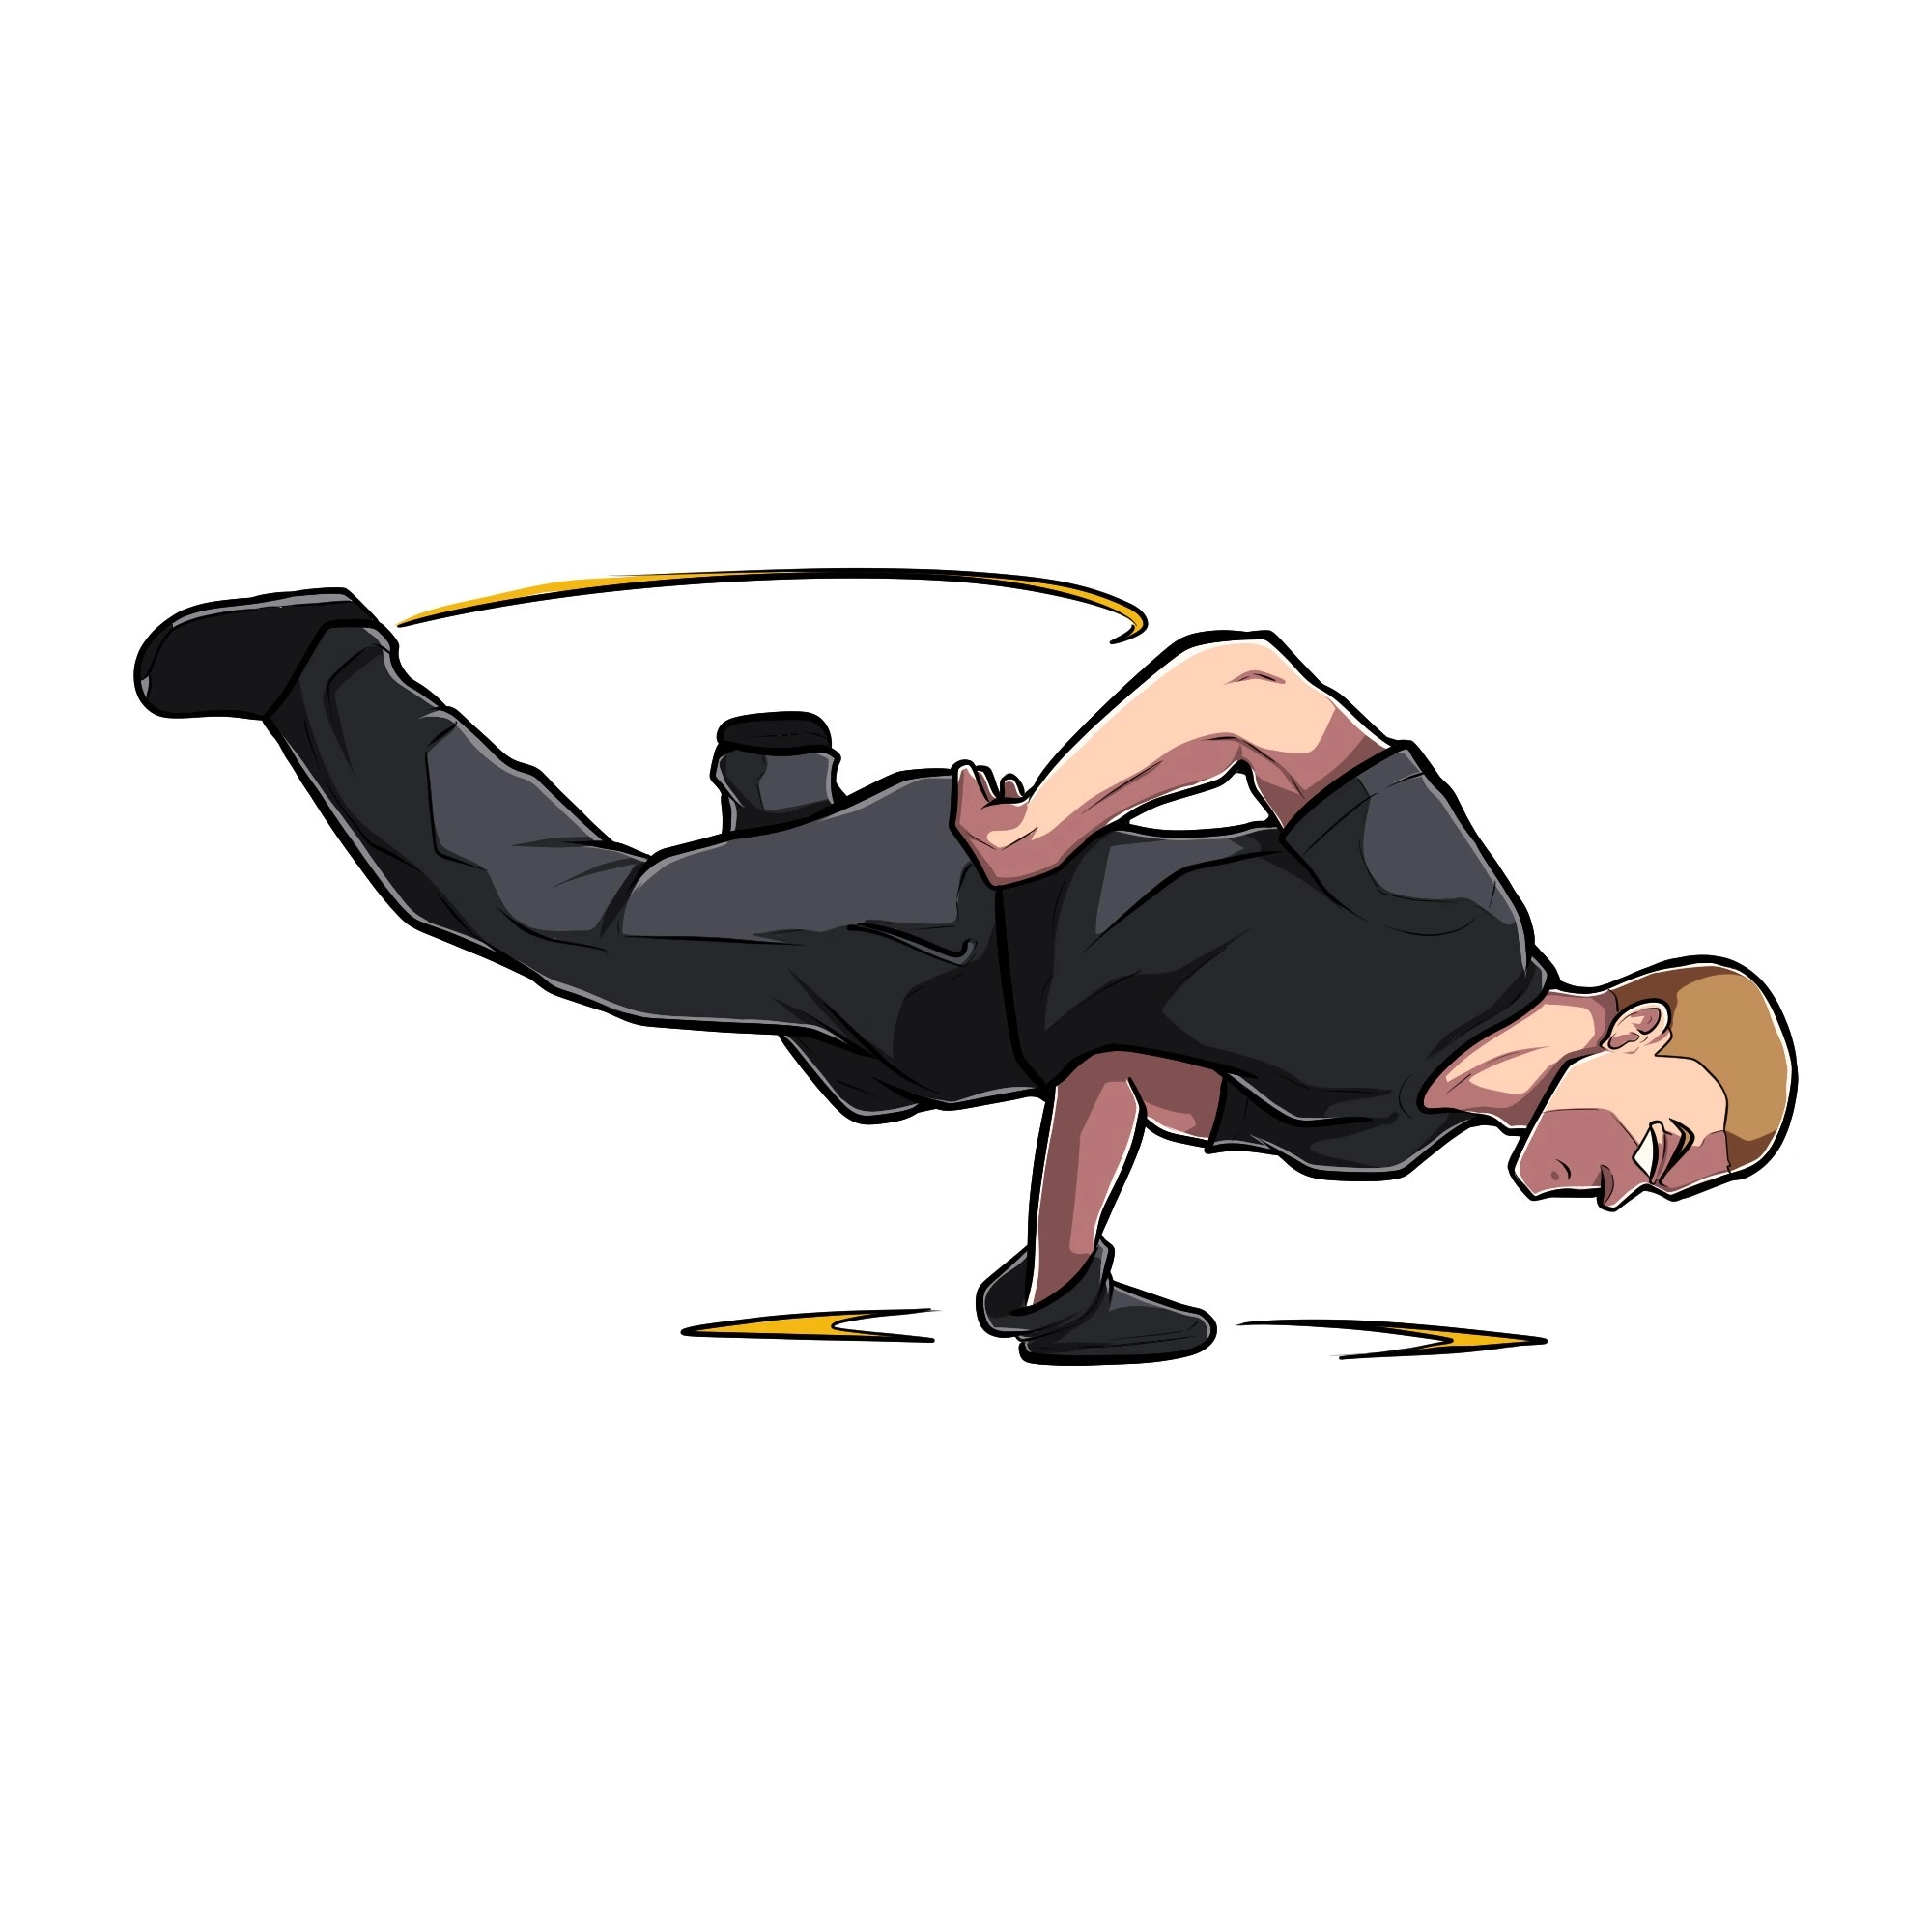
How to Do a Handglide for Beginners
Approaching any new move requires checking your ego at the door and starting small. There’s no denying that the nature of breaking can lead to injury, with one study revealing that 95% of surveyed breakers had experienced an injury at some point.
For this tutorial, we’ll show you how to get into the basic handglide freeze position before adding motion. Here’s how to master your foundation with the handglide move.
Step One – Get Into the Starting Position
Whether your move is successful or not all depends on the starting position. Get perfect b-boy form by squatting down and placing your palms flat on the floor. Spread your fingers for extra stability and ensure the fingers of your left hand are pointing to the left.
Move your legs backward until they are on the floor in a push-up position. Your body should be perfectly straight from your head downwards.
Step Two – Lift Off
Lower yourself onto your left arm until the forearm is perpendicular to the floor. If done correctly, your left bicep should be parallel to the floor. This can be hard to envision, which is where the true importance of teaching comes to the fore. If you’re practicing alone, try setting up a camera or do it in front of a mirror so that you can watch your form.
Your left elbow should be jammed into the left side of your abdomen because this will ultimately support your weight. If comfortable, lift your legs, shifting them slightly to the left to balance your weight.
Use your right arm to catch your balance and stay stable. Remember, all of your weight should be on your left arm. Feel free to shift your legs further left if you’re struggling to balance.
Step Three – Generate Motion
Breakers often ask how to create the momentum to spin without kicking their legs. Ultimately, this is a type of freeze, so everything other than your supporting arm should be as still as possible.
The truth about foundation is mastering your body and indulging in the subtle movements that can make magic without showing the audience what you’re doing.
In the case of handglides, the momentum is created by transferring your weight by leaning slightly forward to initiate motion. You can then control this motion by tilting your hips and pelvis in the direction you’re gliding.
Note this is different for everybody, so as part of your perfect practice formula, it’s vital to practice and learn to feel your body as you continually adjust.
Conclusion
Breaking is all about finding what works for you. If you’re learning the handglide move, you’re already taking the first steps to flip your moves and keep your sets fresh and electrifying. No teacher can do it for you, but they can show you the fundamentals of pulling off incredible moves.
At the B-Boy & B-Girl Dojo, we illustrate the basics of breaking and taking your moves to the next level. Tune into the Dojo and enrich your mind with lessons like the keys to longevity in breaking and introductions to brand-new moves alongside experienced teachers.
Sign up for our courses, and let’s jam from the comfort of your own home today.